Showing posts with label crafts. Show all posts

Saturday, March 16, 2013

St. Patty's Day Wreaths

Happy St. Patrick's Day!
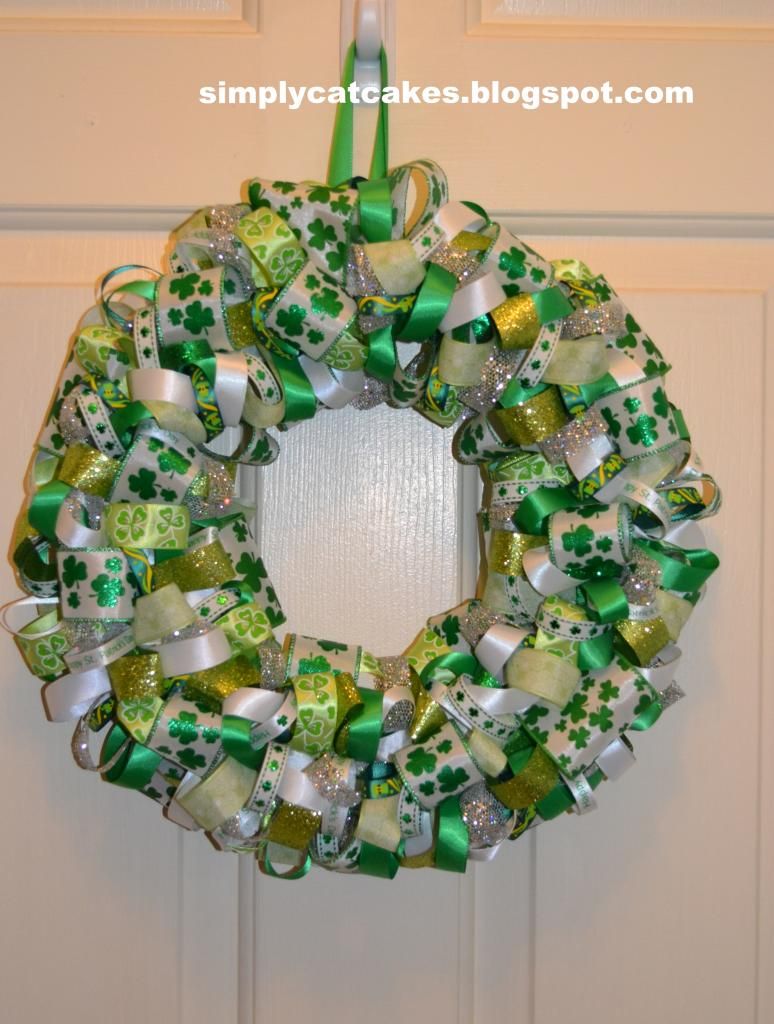
 Originally, I had no plans of making St. Patrick's Day wreaths but when a co-worker showed interest in one....I just had to make one!  She practically twisted my arm, what could I do? Say no?
I have made plenty of wreaths but they usually have a bigger color scheme.  I felt my colors were limited with St. Patrick's Day, which makes creating the wreath a bit more challenging. 
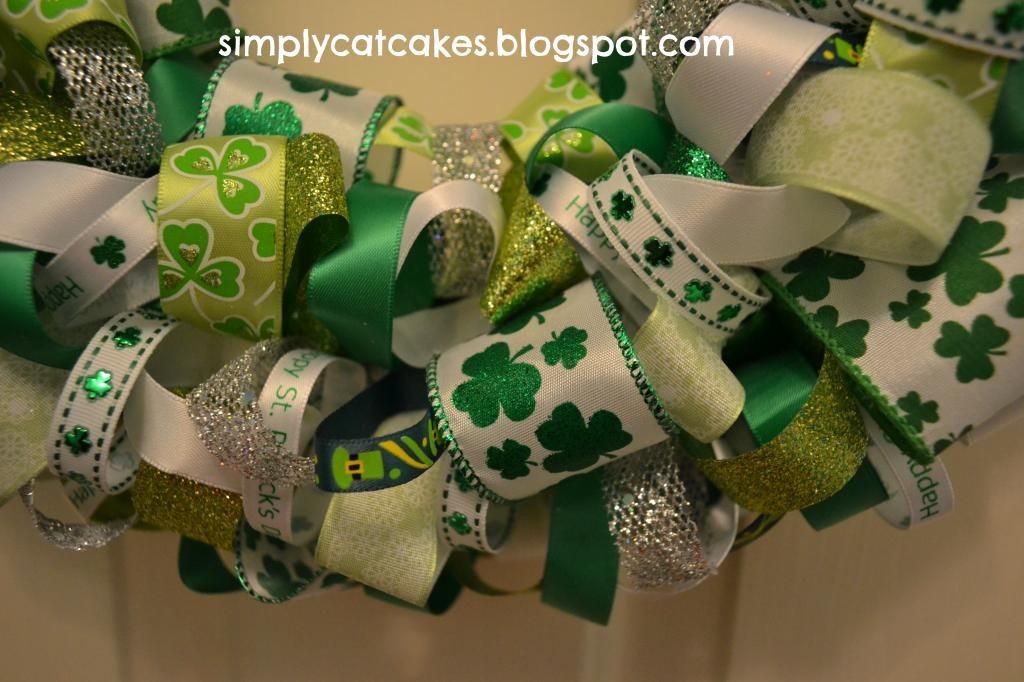
 
  I ended up using whites, silver, Kelly green, light green and a yellow-green. 

The final product came out rather nicely and my co-worker seemed to like it a lot.  Since I was on a wreath kick, I picked up some simple materials to make a 5 minute wreath for myself.
 
My 5 minute wreath requires:
Bendable wire
Ribbon
Foam Shamrocks
Hot Glue Gun
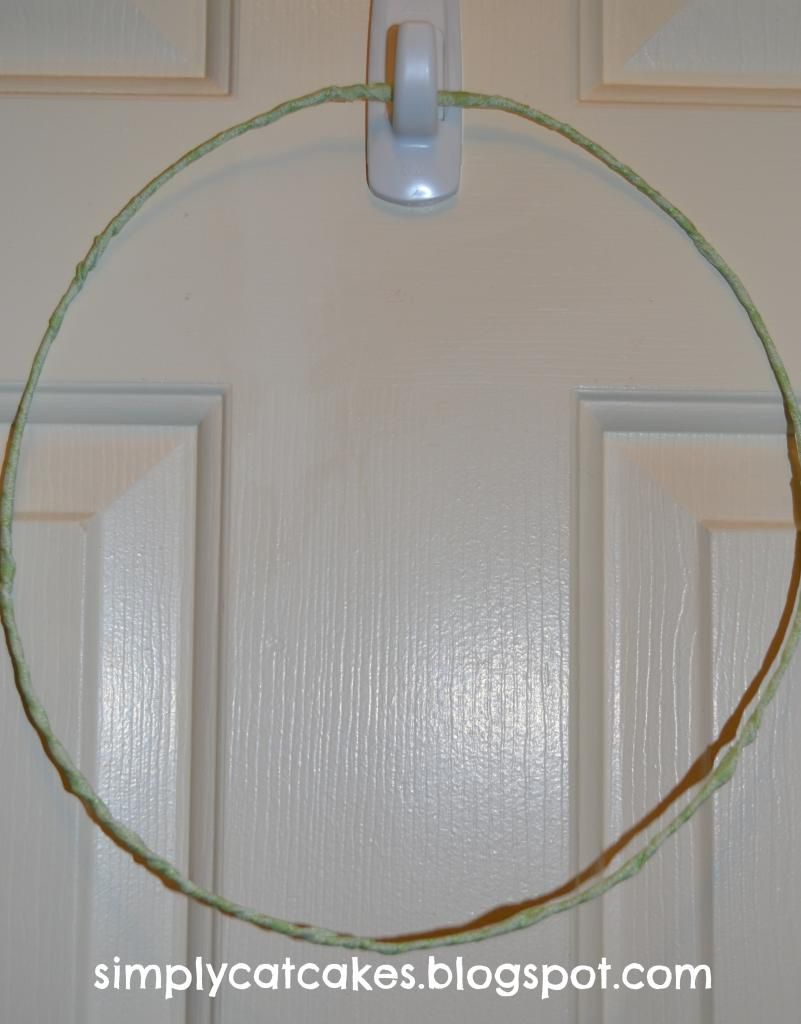
 
 
Take the wire and create a loop or circle and twist it close.  Make sure no ends stick out. 
Next, wrap the wire with ribbon.
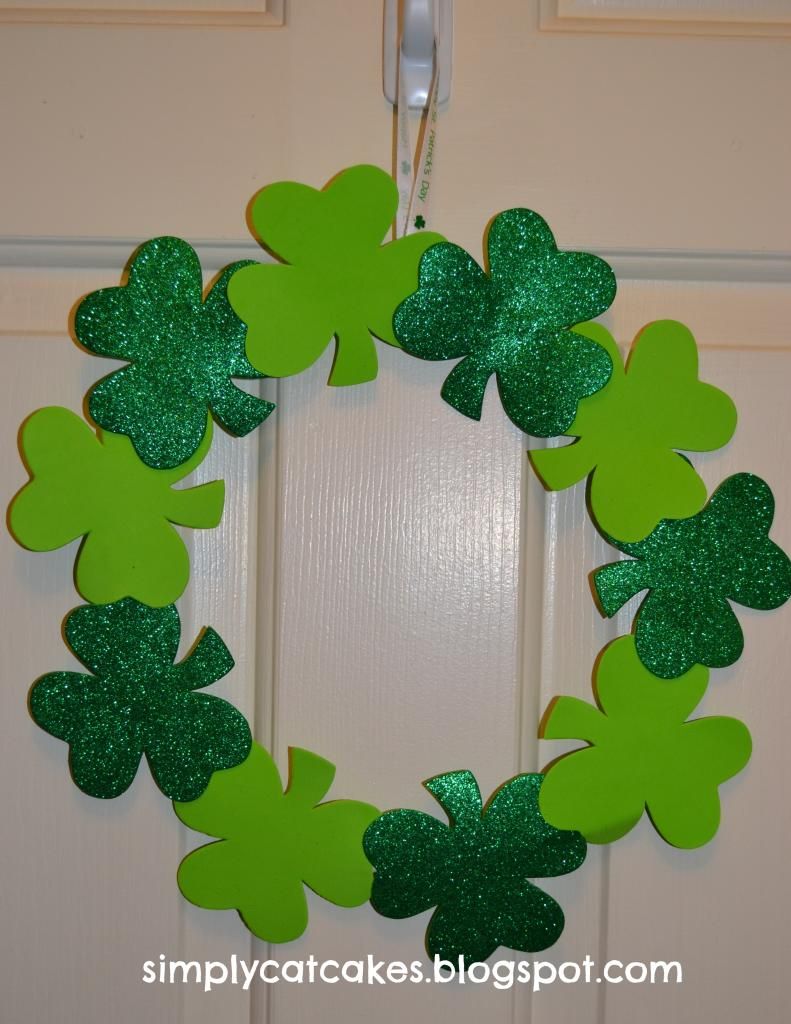
 
Arrange the Shamrocks around the ribbon covered wire wreath and glue them in place.  I used an additional ribbon to create a loop so that my wreath would hang easily.

The end.  Wasn't that easy? The cost is also super affordable.  The wire, ribbon and Shamrock cost less than $5 together.

Enjoy your St. Patrick's Day!
 
Until next time, 

Monday, June 18, 2012

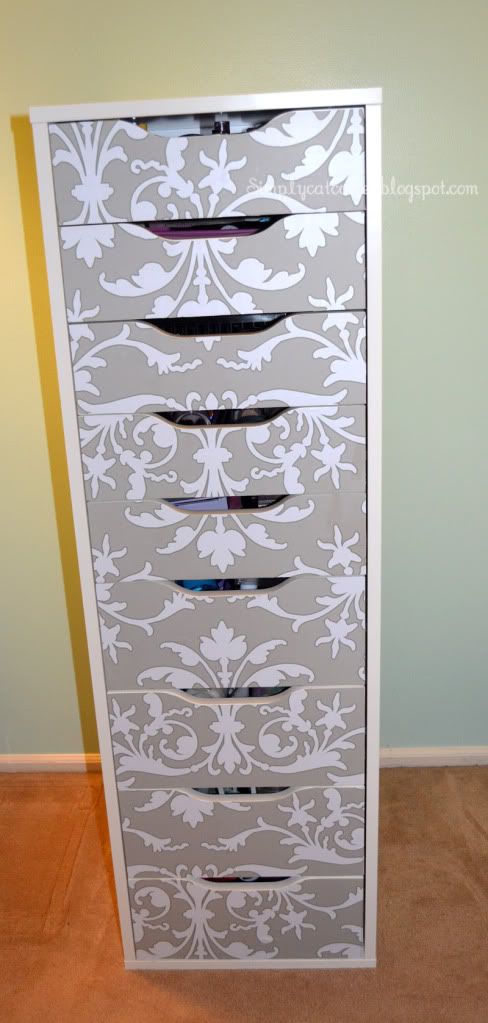
Ikea Drawer Makeover

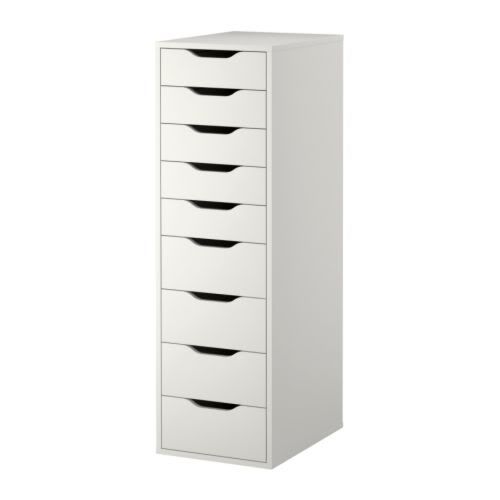
I finally went to an Ikea for the first time!!  I had such a good time that I am going back in a few weeks.  The main reason for my 1 hour trip to Ikea is that I needed makeup storage.  Yep, you read correctly....makeup.  My makeup was taking over every available space that I had and I was not a fan of the plastic storage units.  So, I found a lovely 9 drawer unit that would house all of my makeup vices. 
I swore to myself that if my makeup didn't fit in this unit, I would need to admit that I had a problem!  It's 9 drawers for darn sake...it had to fit! 

Early on, I deliberated on purchasing the drawer unit due to the white color.  My bed room set is a vintage beige, french countryside color.  It's extremely hard to match.  The white drawer unit would stand out.  Yet, I found no other alternative that was budget friendly so I went ahead and purchased the drawer unit.

Assembly was super easy and I was pleasantly surprised with the actual construction of the unit.  It's sturdy and durable.  It doesn't feel weak, cheap or unstable.  I love it.  It's the best money I have spent on any organization piece.

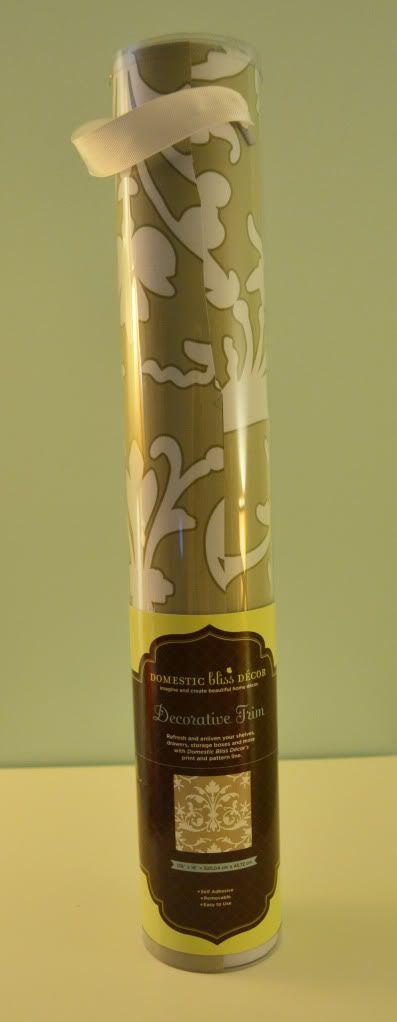
As I had expected the white looked really out of place in my beigey bedroom.  So, I explored Jo-Ann and found a beautiful decorative pattern trim.

I was initially looking for decorative fabric but I was worried about messing up on the application.  So I started looking for something that would allow me to reposition upon application... just in case I made terrible boo-boos.  I stumbled upon decorative trim that is meant for walls or drawers:

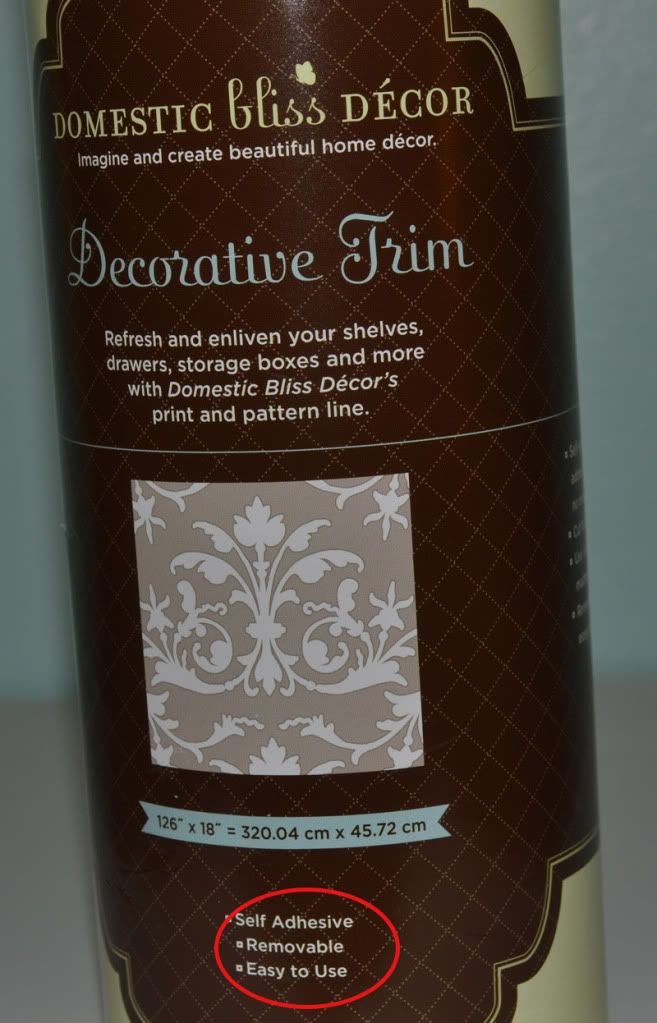
It was perfect.  It's self adhesive, removable and it even had 3 of my favorite words.  EASY TO USE!  WOOT!  I was instantly sold.  Did I mention that it only cost $5 with my 50% off coupon?

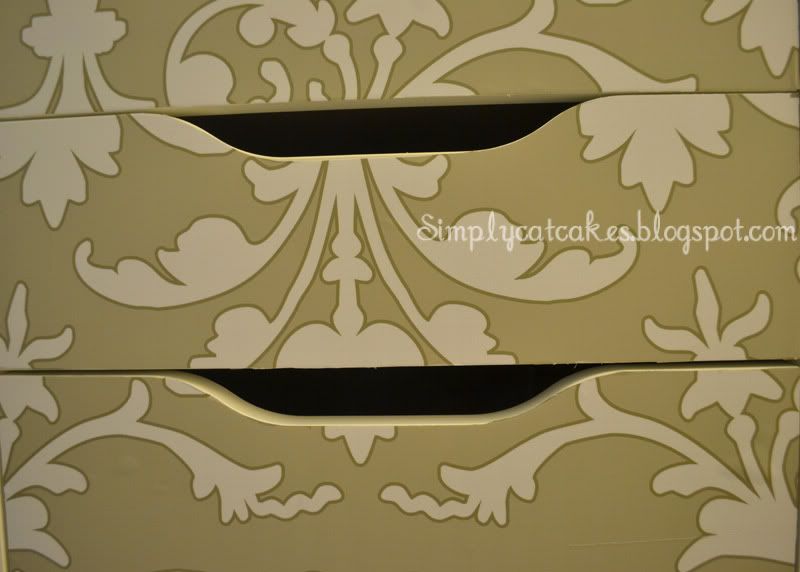
The hardest part of applying the decorative trim was matching up the swirly flower pattern.  It just took some careful tracing. 

I found it helpful to remove the drawers and trace the shape on the decorative trim.  Next, I cut the shape out and applied it directly to the front of the drawer.  Any excess trim was removed using an exacto knife.  Make sure to carefully cut close to the furniture to prevent any peeling of the trim.  Ater that...you are done!  It's literally that easy!


I left the sides white but I may cover them in the future.  I am so happy with the makeover!  It matches perfectly in my bedroom.  Plus, it was sooo easy and cheap.  What more could I ask for?

*Note - I have had my drawer set for about 2 months and I have not had any peeling*

Until next time,
Photobucket

Monday, April 2, 2012

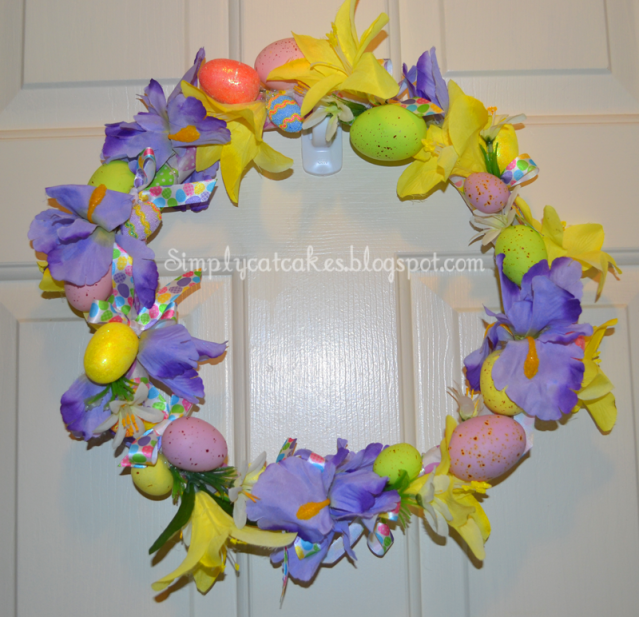
Springy Easter Wreath


While shopping at my local Dollar Tree, I picked up a standard looking wooden/wicker wreath.  After working with foam wreaths, I thought it was time to up my game.  I was so wrong.  My game does not need to be upped!! I did not enjoy working with wooden/wicker wreaths.  They are a pain!

I wanted to create a Spring inspired wreath but every time I looked at the skinny wicker frame of the wreath I lost inspiration.  So, I picked up some ribbon, eggs and flowers and inspiration struck me!  All of my supplies (with the exception of the small egg ribbon) were purchased for a dollar. 


To create this wreath simply obtain the following:
  • Wide ribbon and thin ribbon
  • A variety of fake Spring flowers
  • A variety of fake eggs
  • Glue gun and glue
  • Scissors
I started by wrapping my wreath with the wide ribbon.  Then, I snipped my fake flowers, but allowed a 3-4 inch stem.  To give my frail and skinny wreath some volume, I hot glued my flowers around the wreath.  I was careful to tuck/glue the flower stems under the ribbon so that nothing poked out.
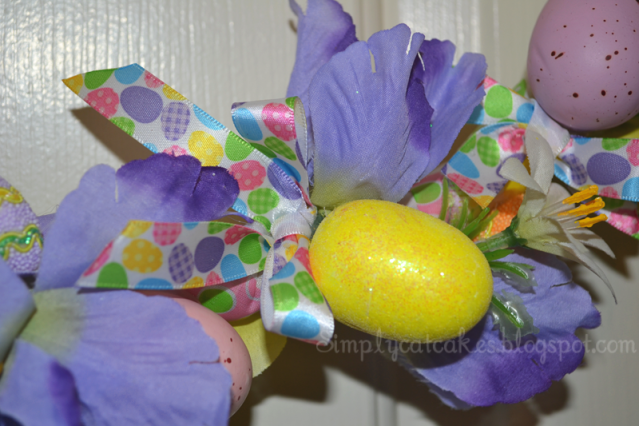
The next step is to create pretty bows with your thin ribbon.  This can be totally done in advance.  Who says you can't be productive while watching The Vampire Diaries

Once you have glued your flowers, it is time to scatter and glue your eggs!  Arrange them so that they too create volume and an interesting pattern.  While gluing your eggs, don't forget to leave enough space to glue your thin ribbon bows.  Once everything is glued and arranged on your wreath, you are done!!

I'm pretty happy with my under $10 dollar homemade wreath.  To spice up this craft, look for interesting ribbon and unique easter eggs.  I hope you have enjoyed this craft!

Sunday, February 19, 2012

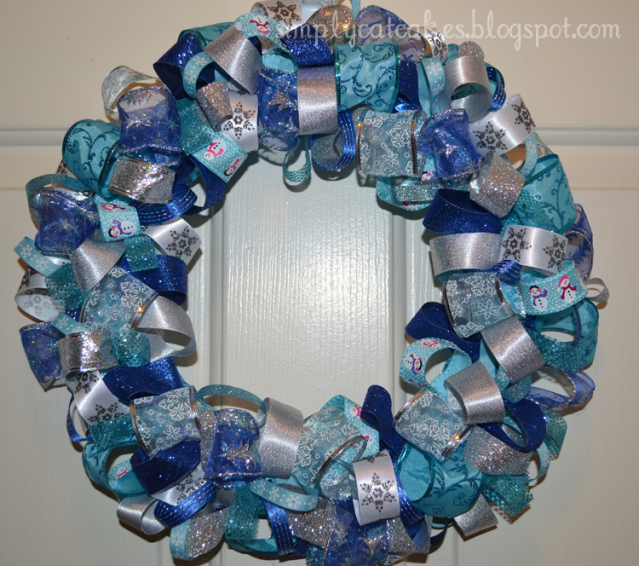
Ribbon Wreath Craft

My winter wonderland wreath

This past Christmas season, I became obsessed with ribbon wreaths.  I must've made at least 10 wreaths. Sadly, I own none at this time because I gave them all away.

I decided to share my craft idea because my friends and family really enjoyed receiving these as gifts!  The craft itself is extremely easy.  I've never attempted to tackle a wreath project, so I know if I can do it....you can do it! 


Materials:
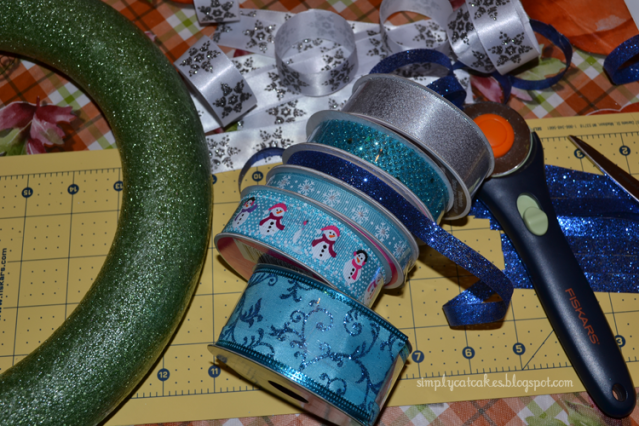
Foam wreath
Tons of ribbon (various sizes, various patterns)
Glue gun
Scissors, rotary wheel
Cutting mat
Push pins are helpful!

In effort to facilitate this project, I made a YouTube video.  If you're not into videos, then just follow the below steps.


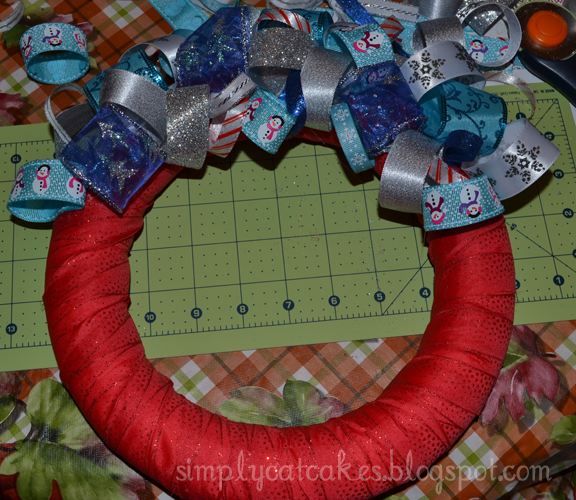
The first thing you want to do is cover your entire wreath with the widest ribbon you have.  The push pins come in handy by securing the ribbon in place.  Be sure to hot glue the very last piece of ribbon onto the foam.
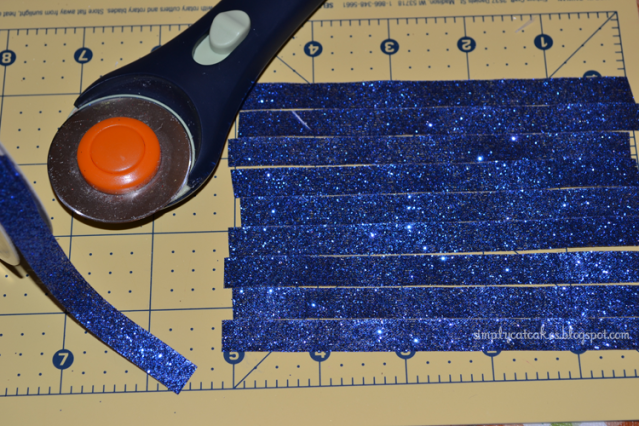
Next, you will need to cut about 5 inches of ribbon.  Cut all of your ribbon at this time.  This makes the decorating and gluing part go by faster and easier.

Then you will want to glue all of your ribbon strips into loops.  Once you have successfully glued all your ribbon into loops or circles, it is time to decorate!!

It doesn't matter where on the wreath you start gluing. Just add a small amount of glue on to your ribbon then press the ribbon onto the wreath.   You will want to repeat this step until you have the entire front of the wreath covered. 

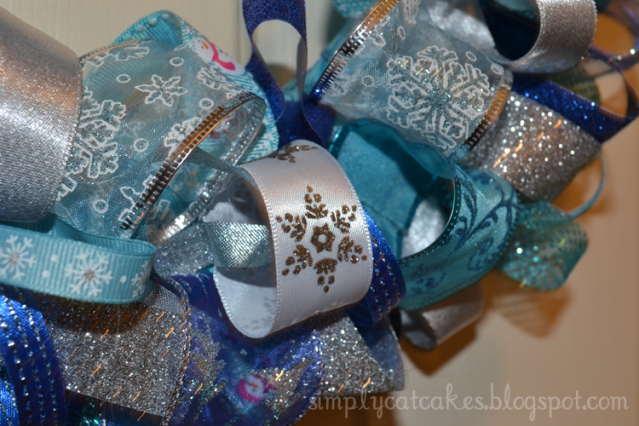
The trick to create patterns with the ribbon.  Add your ribbon at various angles to give your wreath a complete look.

Be sure to cover any large gaps with ribbon. 
In the end you should have no gaps, and lots of alternating ribbon patterns throughout your wreath.

The estimated cost of the craft is about $10-$15 however, you can get tons of ribbon to use on more than one wreath!  While making my bazillion wreaths, I swore by Michael's coupons and sales.
This craft is perfect for any holiday.  You can easily make it for any and every holiday.  They also make great gifts for families and people you have no idea what to give.
Happy crafting!

Photobucket

Saturday, January 8, 2011

Chinese New Year Lanterns

Happy New Year to all!  New Year's celebrations are always so festive and delightful.  I especially like the decorations for Chinese New Year's; the red, the gold, the dragons, and the intricate designs.  Celebrating the zodiac per year is also so interesting.  2011 is the year of the rabbit!  As a fellow rabbit, I'm ecstatic about celebrating my Chinese zodiac sign!

Here is a super simply craft to celebrate Chinese New Year's on Feb. 3, 2011. 

 Chinese paper lanterns


Materials Needed:
Cardstock white paper
printer
exacto knife
tape
candle

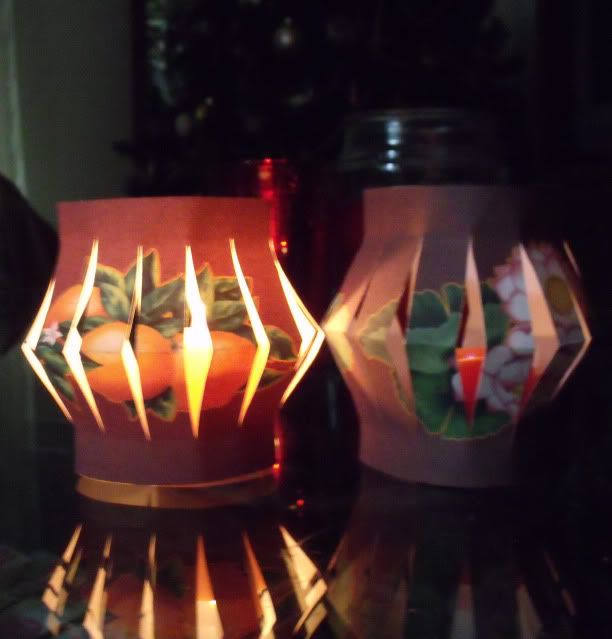
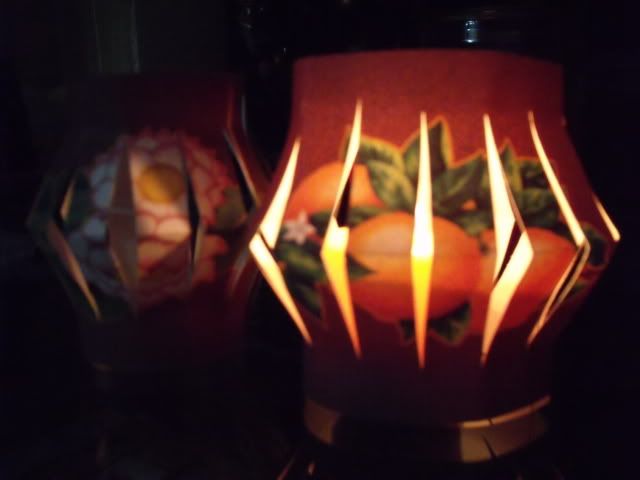
To create this craft, please follow the link for the template provided by HP Creative Studio.  From there print the template, cut around the white areas and fold each lantern in half.  Unfold so your template is once again flat.  Next, using an exacto knife trace the straight lines on the template but being careful not to cut all the way through the design.  Once you have cut all the lines you will want to piece both ends of the template together and tape at the edges until your design looks like the one below. All that is left to do is to place a candle in the middle and you have yourself a lantern.


Photobucket

Saturday, December 11, 2010

Glitter Tree Holiday Decoration


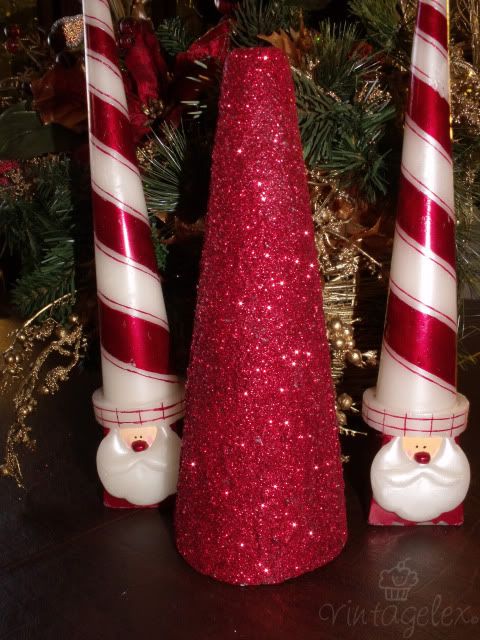
Hello my holiday crafters.  It's been a long time since I've posted a craft!  Worry not, this season I bring you a cheap and e-a-s-y project.  As usual this craft is affordable, easy and not very time consuming.  

Items you need:
Foam cone shape 
Glitter
Glue or Mod Podge
Applicator

If you're on a budget, you can obtain all of your supplies at the Dollar Tree, an estimated total of this craft is $4 (I told you it was cheap!)  

Directions:
Lucky for you, I made a video!  It's a self-explanatory craft, but just in case you want to hear my wonderful voice....here is the video!


This craft is ideal for the holiday season.  It adds a bit of sparkle to any area.  I plan to bring these cones in to my office to add holiday cheer.  This craft is also great for kids because it is so simple.  Any kid will be able to follow the steps and come up with a great finished project.  Plus, what kid doesn't like sprinkling glitter and making a mess? 
 

Sunday, October 17, 2010

Anthro Necklace Knockoff

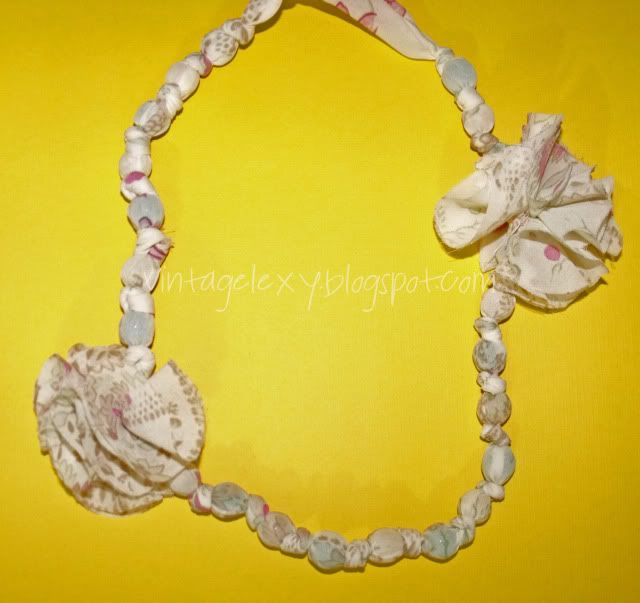
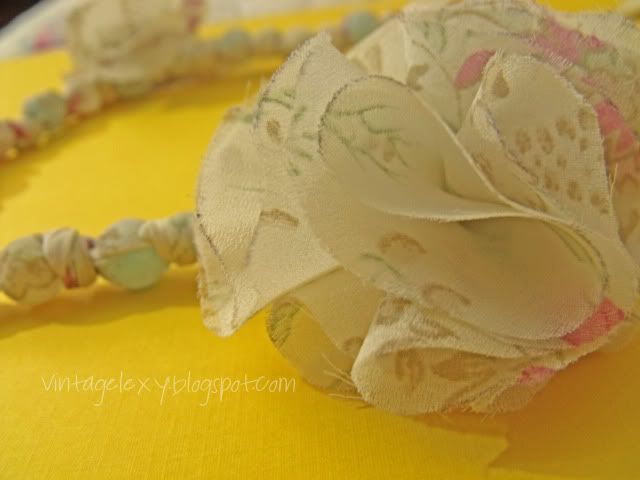
Ever since I saw Flamingo Toes' Anthro necklace knockoff tutorial, I knew I had to make it myself!  I have been on the search for a fluffy flower necklace but didn't want to dish out more than $10 bucks!  I know, I'm a cheapo.  

 
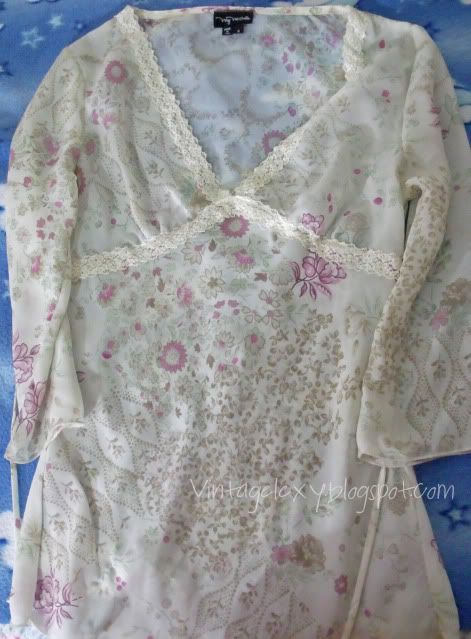
I was able to create the entire necklace from an old sheer shirt that had been previously damage with blue paint.  Yay, for re-using and recycling!

The entire project cost me $7 because I bought a huge quantity of beads.  I chose blue beads but they weren't too visible through the sheer material. 


I'm pleased with the outcome of the necklace, but there are a few things that I would change.  Since I used strips from an old shirt, I had to end up sewing together small strips to make one long strip.  Not a huge deal, but it made ugly seams that I had to cover up with the fabric flowers.  Which lead me with hardly any control of where I actually wanted the flowers.  Overall, I am pretty happy because I was able to use my damage shirt to create a necklace!

However, in the future, I may just invest in sheer fabric and create the necklace in that manner.  

If you are interested in the original tutorial please visit Flamingo Toes.

Saturday, May 1, 2010

Party Favor Box

I don't know about you guys, but I think party favors are a pain.  I have received and even made some party favors, that are a complete waste of money and space.  You know what I mean!  Haven't you been to a baby shower/bridal shower/ other party where you receive a cheap plastic item that does nothing but state who's party it was?  I hate those!

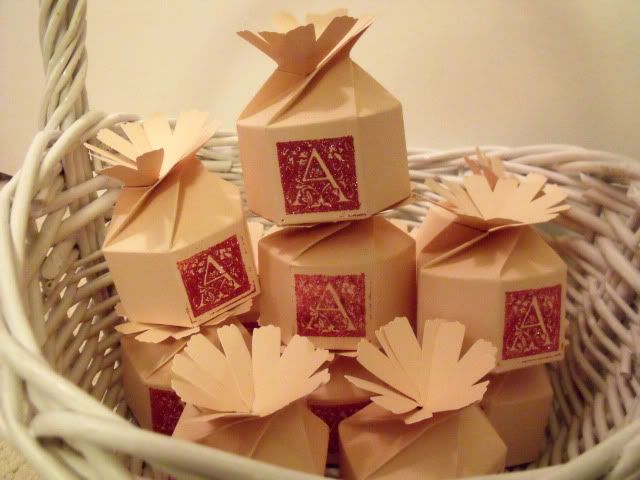
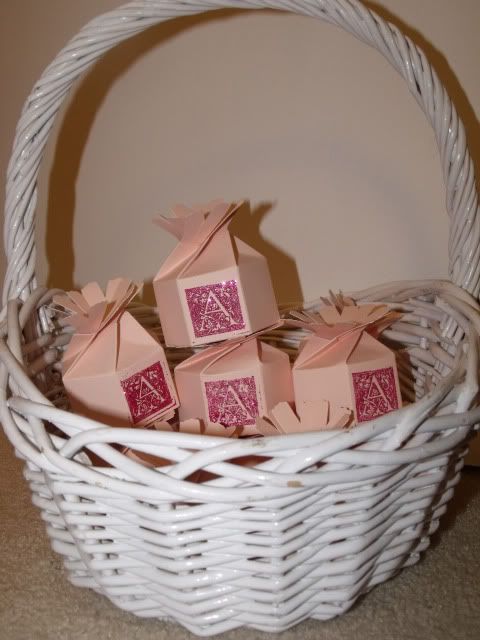
For my graduation party, I wanted my party favors to be simple, affordable, cute, and some what useful.  Looking at the image above, you can't tell...but there's a lovely scented candle inside.  Thus, making my party favor a bit useful!  

So now that my rant is over....let's get on with this little mini project.  The point of this craft is to customize plain ol' paper boxes.  I found some really affordable boxes, but I wanted to add a simple twist to them that would not take much time nor money.  

This little craft is perfect for us people living on a budget, and can't afford to spend tons of money on party favors.  It's also great for people that aren't very creative, because regardless of you are creative...you'll still end up with a cute and unique favor box!


To customize party favor boxes you will need:
  • cute stamp (if you want to add glitter--choose one with a simple design)
  • stamp pad or pigment
  • glitter (optional)
  • glue pad (optional)
  • party favor boxes
  • Estimated Cost: $10-15 dollars--don't worry this makes plenty of boxes!
Warning: the way I did this- will ruin your stamp pad or pigment.  

I started off by practicing my stamping because nothing makes me more mad, then to ruin a perfectly good favor box.  Once, I was confident with my stamping.  I lightly placed my clean stamp pad into a bit of glue pad.  You don't need to much, just enough to make it tacky and bit sticky.  Then I lighted brushed my stamp across the stamp pad.  Go ahead a stamp! Woot!  Lastly, I dusted my stamping with some bright fuchsia glitter.  Tadaaaah!  It's really that easy. 
I love my little party favor boxes, it added some sparkle and customization.  <3

Monday, April 26, 2010

Mother's Day Comes Early

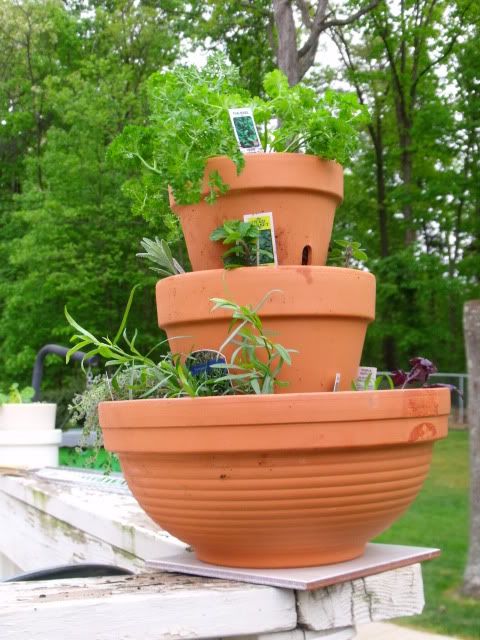
My family enjoys gardening.  We grow many vegetables and fruits and also plant many beautiful flowers.  It's no wonder that when I saw this I knew I had to create something similar.  Originally, I thought my sister would enjoy the project, but instead my sister and I both decided to create it for my mom.  
 I think it's a cute idea for those interested in gardening but do not have the space (as the great Martha magazine advices).  It's cute but it is rather expensive!  This project cost about $50 dollars (not including soil).  It's pricey due to the herbs and the pots.  If you're frugal you can find cheap pots in yard sales and you can also grow your herbs from seeds to save money. I would estimate about $20 dollars for the project, if you decide to be frugal.  We decided to take the "Home Depot" Route and thus we spent this much! 

What I love most about this project is that it looks like we bought it already like this! I'm certain neighbors and friends will be curious as to where we bought the pot.  I love that all the yummy herbs that we need on a regular basis, are in one exact location.  Typically, the herbs are spread out so it takes some actual exploring and digging to get what you desire.  Now everything is at our fingertips, literally!  

For my mom's project, we bought parsley, 2 different types of lavender, tarragon, thyme, mint, 2 different types of basil (I love the smell of basil) and oregano, and cilantro. 

Saturday, March 6, 2010

Mini Easter Eggs

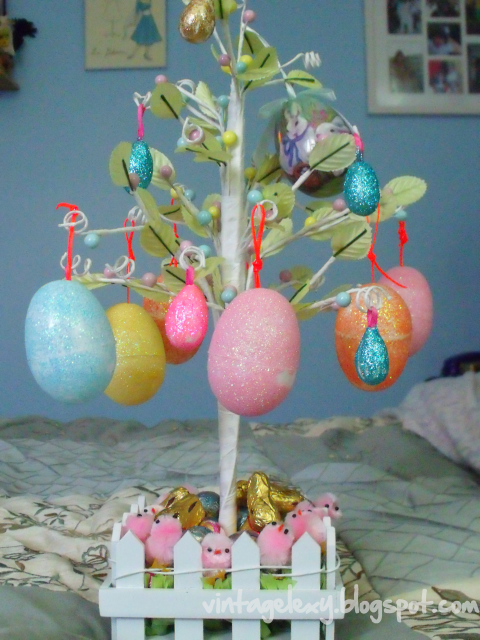
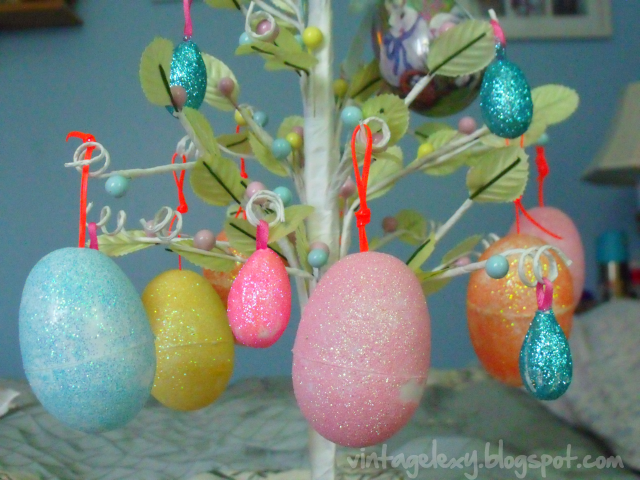
 My tree with mini and regular eggs.  It looks more even now, but I may have to just attack the tree with mini eggs.

This is the first year I have gotten into Easter decorations and I am pretty hooked.  I'm not sure if it's the past snow storms and the never ending winter that are making me love the lovely and lively pastels that are associated with Easter.  I purchased the above white Easter tree at Michaels and was slightly disappointed with when I hung my regular Easter eggs on the tree.  It just looked too heavy and awkward.  Thus, I wanted to purchase mini  eggs at the store but opted out to make my own.  As per my usual crafts, the following craft is super easy and pretty affordable.  

If you are interested in how I created my mini eggs please view the YouTube video clip.


Materials:
clay
thin ribbon
glitter/paint
bamboo skewers
glue/mod podge

Estimated Cost:
$10 dollars (unless you're a crafty sista then you already own 90% of these materials-- your cost is about $2 dollars)

The great thing about this craft is that you can re-use it every year!  Why waste money on decorating eggs that will only last for a few days or for one holiday, when you can invest on some that will last?  Another perk about this craft is that it won't break! It's made from soft clay, so even if you drop it, it will not shatter or break!  Awesome!


*As usual all products were purchased by yours dearest!*

Sunday, February 14, 2010

Valentine's letter Seal

 
This is for all the ladies that were curious about my Holiday wax seal craft.  It's a bit late but I already had a video on it!  Feel free to subscribe to me on Youtube, so you don't miss my craft tutorials! 

Saturday, February 13, 2010

Hanging Valentine's Day Decoration

 
 For those of you crafters that follow the craft guru, Martha Stewart, this craft may appear familiar.  I was inspired by one of the craft ideas in her magazine.  Wow, could I make myself sound any dorkier?  Oh well, I'm not ashamed of my crafty nor my dorky side!  I wouldn't say I'm proud...but I'm not ashamed!  

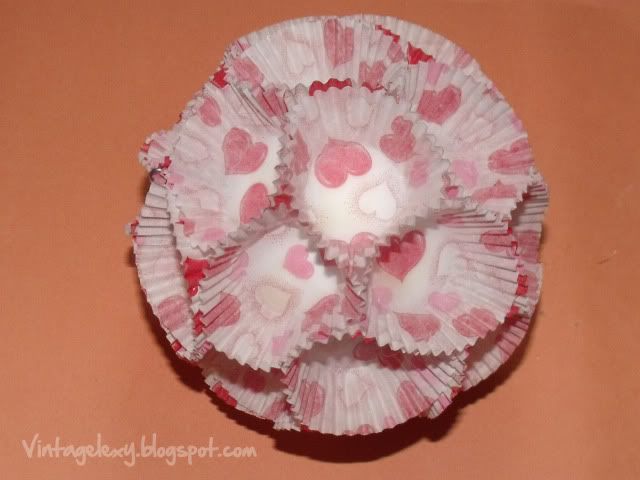
This Valentine's decoration is s-i-m-p-l-e and super adorable.  I will be reusing these Valentine's decorations for my birthday.  Not only is it simple and cute but reasonably cheap to make too.  Did I mention it was simple? :P 

Supplies
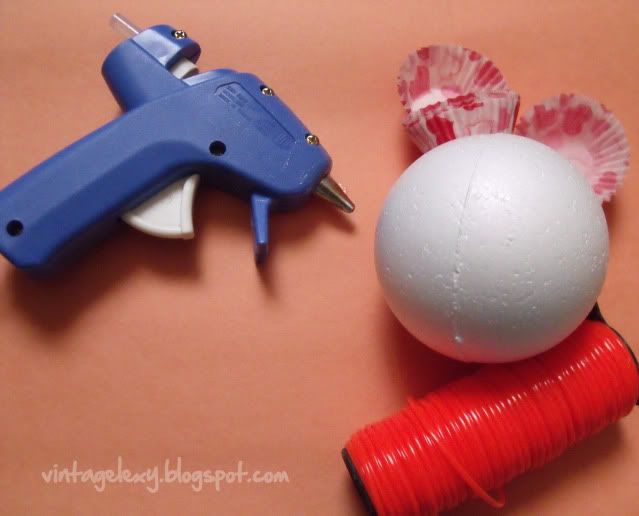
Styrofoam ball (small-medium size)
Cupcake paper tins 
Hot glue & gluesticks
String & scissors (optional)

I estimate a total of $5-7 dollars, which seems like a lot for one craft...but if you buy things in bulk it may actually make a few decorations!  


Supplies


Directions

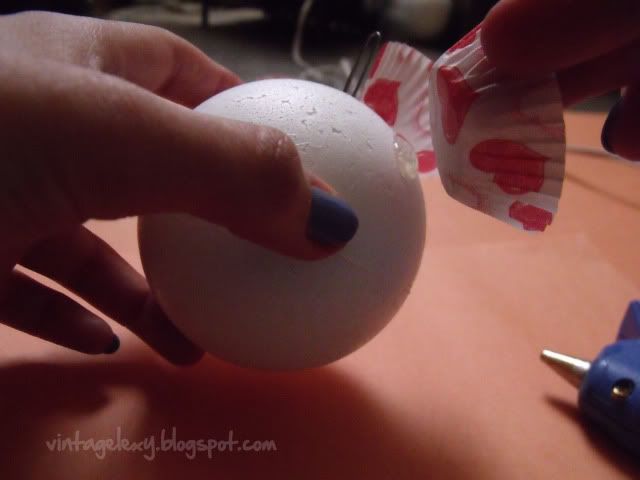
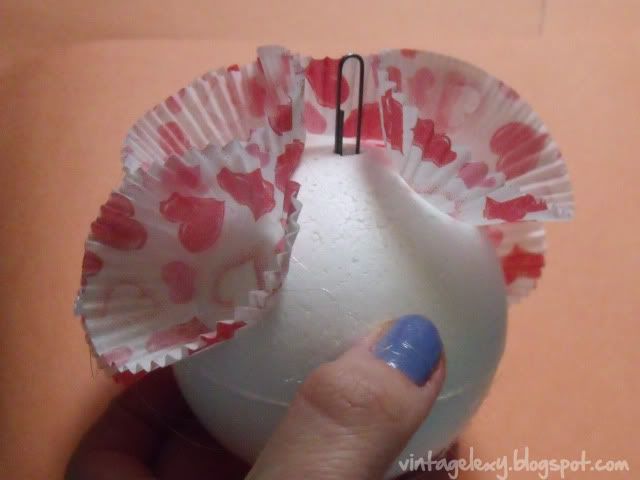
PLEASE DISREGARD THE PAPERCLIP!  My Styrofoam ball was extremely hard...so the paperclip refused to stay in place.  If you purchase a more regular(but not as smooth) Styrofoam ball the paperclip should hold in place! 

  • Apply a small amount of hot glue on the Styrofoam ball.  
  • Next cover the hot glue with the cupcake paper tins.  Repeat the process for the following cupcake paper tin.  Make sure you apply the cupcake paper tin close together. 
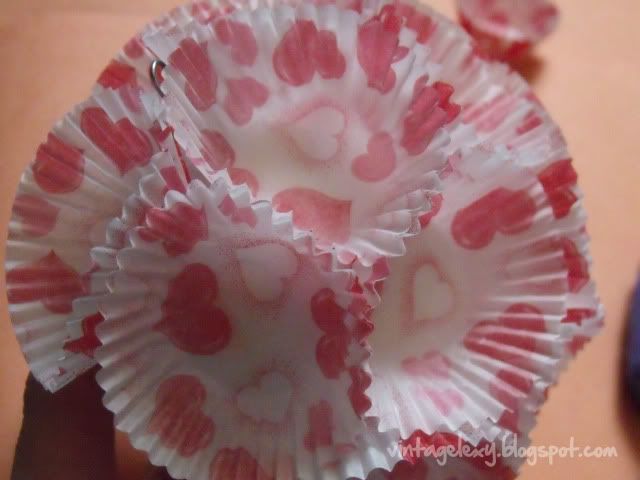
  • After covering the entire ball with the paper cupcake tins...it should look like this...


 Doesn't it look lovely?
  • Success!  The hard part is over...the craft is pretty much done, unless you want to hang it.
  • To hang, hole punch the sides of the paper tins together and lace them with a simple knot (can also try the paperclip method...or your own method) These balls will hang easily without ripping because they are so light!
Please feel free to view my video demonstration if you have any questions.


Saturday, January 9, 2010

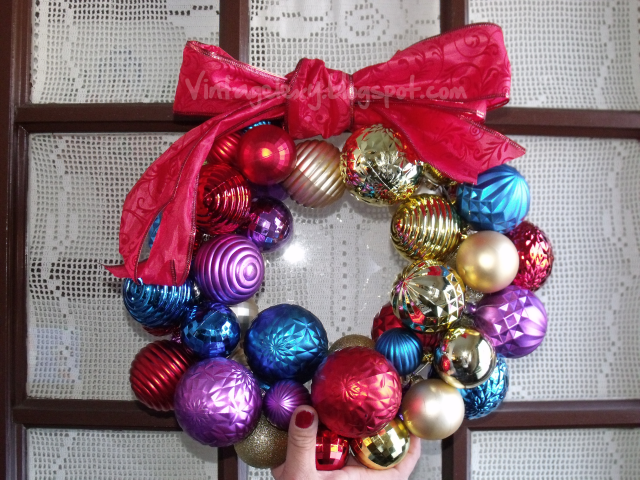
Ornamental Wreath


 We don't have a big hook on the door to hang the wreath, please disregard my sister's hand

I loved creating this craft so much, that I don't even mind I'm one holiday too late.  I got the idea while stumbling upon a craft blog. It was so beautiful and easy, that I couldn't pass it up! 

All you need for this craft:
-wire clothes hanger
-plastic/glass ornaments
-ribbon
-hot glue gun & glue sticks

Estimated cost: $10 (This all depends on how much you pay for ornaments)

To create this beautiful wreath you need to bend the wire hanger into an "O" Shape.  Next hot glue the tops to all of your ornaments.  The next step is simple, slip in your ornaments! You may need a variety of sizes to fill in the gaps. 

The last step in this craft is just closing the wire hanger, adding a bow and hanging it on your door. 

I made this wreath for my sister and she loved it.  It's a simple craft, fairly cheap in supplies and takes absolutely no skill! 

I would recommend plastic ornaments because if your wreath falls....there goes all your work, money and effort.  Lastly, a great place to look for cheap ornaments are thrift stores, eBay, discounted stores like Big Lots, and your own holiday stash.  You can always get good deals at the beginning of the holiday season and after the season too!

Enjoy!!

*I am not paid to advertise any company or store.  As usual everything was purchased by my sexy wallet*

Sunday, November 29, 2009

DIY Bath Salt


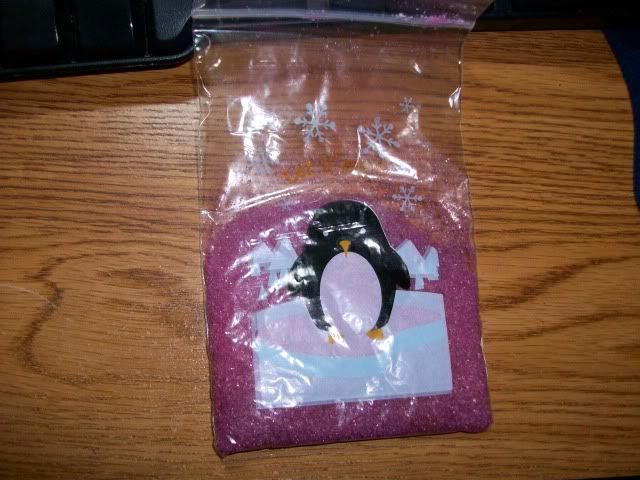
This is probably the worst photo...good thing I made the video. haha


As mentioned I got this idea originally from DulceCandy87's body salt scrub (and she got it from a Michael's book).  Since the holiday season has officially kicked off, I know most of us are really broke and would prefer some cheaper alternatives for gifts.  If that's the case, you might want to consider this DIY idea. 

I purchased everything at my local dollar store and all the items cost me less than $5 dollars.  If you were to buy bath salts at a store it would cost you anywhere from $2-7 dollars.  For this project you're paying $5 for all of the ingredients! You can make tons of batches for just $5 bucks.  Heck yeah! I love bargains. 

The project itself takes less than 5 minutes (depending how many you make).  It's also error proof.  If I can make it, you can make it.

 I don't have much else to say about it, I hope you consider it this idea for fun, for a gift or for whateva'. 

On a side note, I already put one of my baggies to use and it smelled very soft and comforting.  It's not a very strong scent.  It's perfect for those of you that don't like to smell like bath products.

Friday, November 13, 2009

Holiday Wax Seal Craft

Samples of my labor

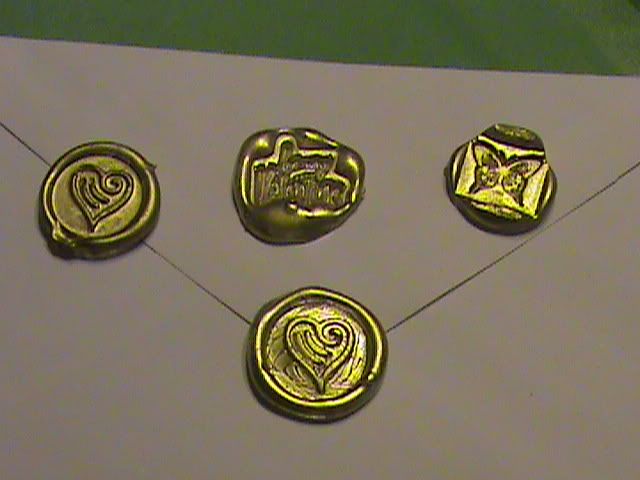
I love the look of old wax seals on letters, but the wax itself costs so much!  I decided to create a cheaper alternative that has the same aesthetic.  I use just hot glue, a stamp, and spray paint.  It's a very simple craft.  I'm simply in love with my creation.  I can't wait to mail out my holiday cards. Yay!

For my video tutorial please go here.