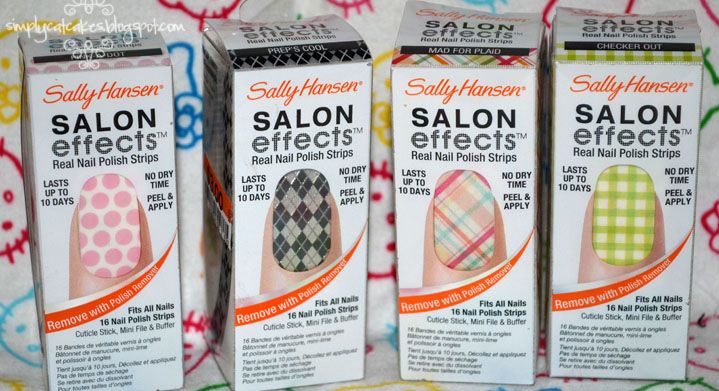
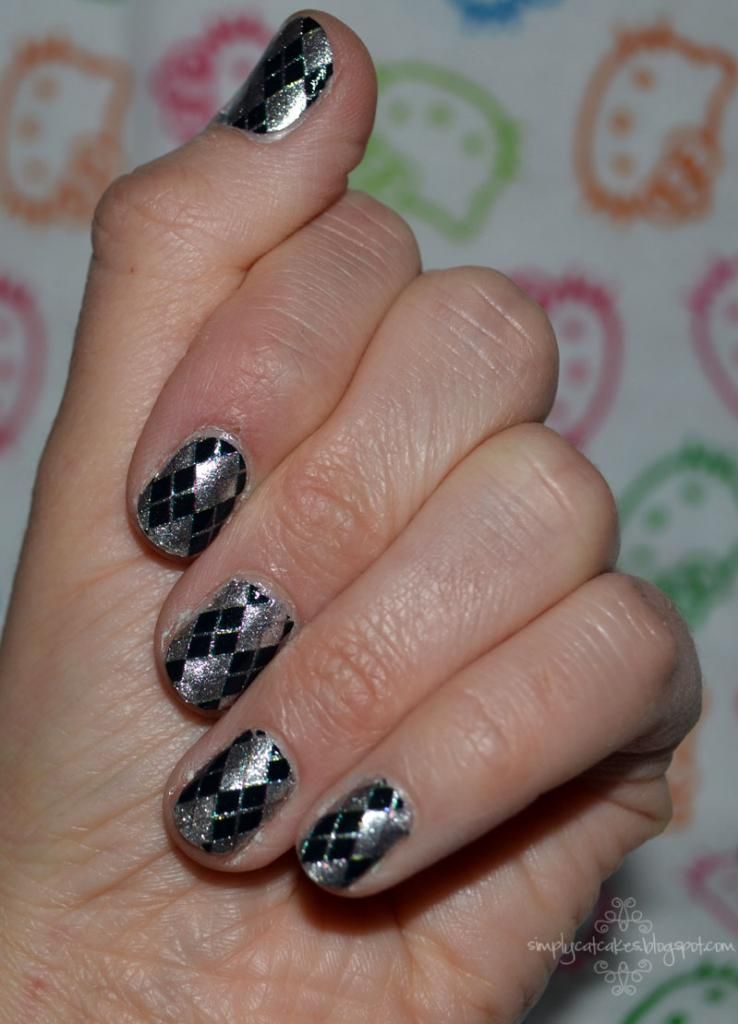
These cool polish strips can be purchased at just about any drugstore. I have even seen them at bargain stores for a discounted price. They can run a bit on the expensive side, $8. CVS usually has a BOGO deal every month, so you could wait for that or try eBay/bargain stores.
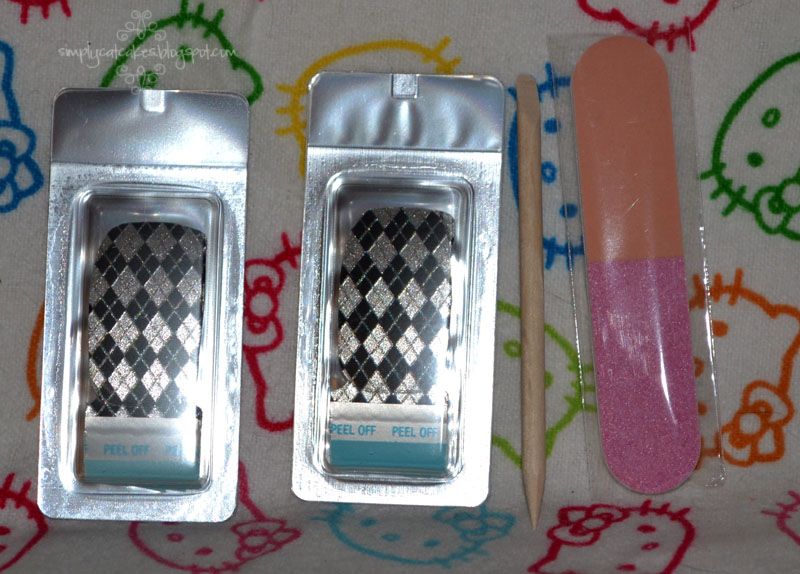
Each kit includes 2 sets of polish strips (about 7 strips each), a cuticle stick and an emery board.
The number one thing to keep in mind is that once you open one of the nail polish strip packs..you have use that pack. I made the mistake of leaving an open pack over night and the next day the polish strips were all dried out and completely useless.
Let's get started
Step 1: Buff your nails with the provided emery board. Smooth your nail a bit so it is a nice surface for the nail strip. While you are at it, you may as well shape and file your nails.
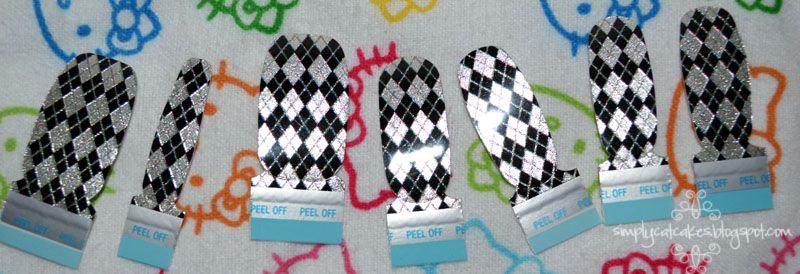
Step 2: Open the polish strip pack. Measure the strips and plan which strip will go on which finger.
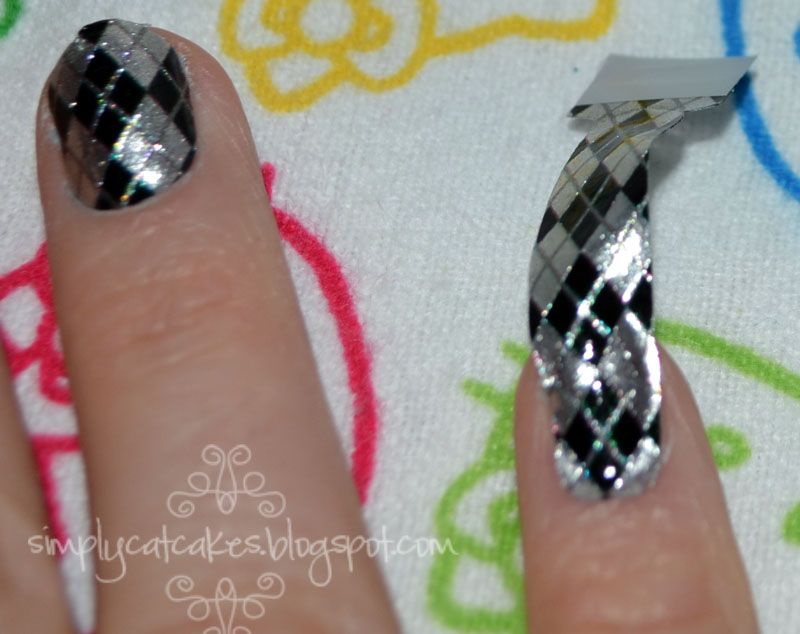
Step 3: Remove the plastic coat from the polish strip and apply directly to the nail.
It will look something like the right finger of the above image.
Step 4: You can use the emery board to tuck and "cut" the extra polish strip from your finger nail. Using the cuticle stick is also helpful. Repeat for all fingers. The finish look will look like the left finger on the above image.
Step 5: To ensure the manicure lasts about 2 weeks, I always add a top coat.
Tadah - Done! Now get ready for all the compliments you will receive. Remenber, you worked really hard on this pattern! It is not store bought :)
I used the pattern "Prep's Cool." Which patterns is your favorite?
Has anyone used the left over strips on their toes, or am I the only cheapo that will admit it?

