Sunday, March 25, 2012

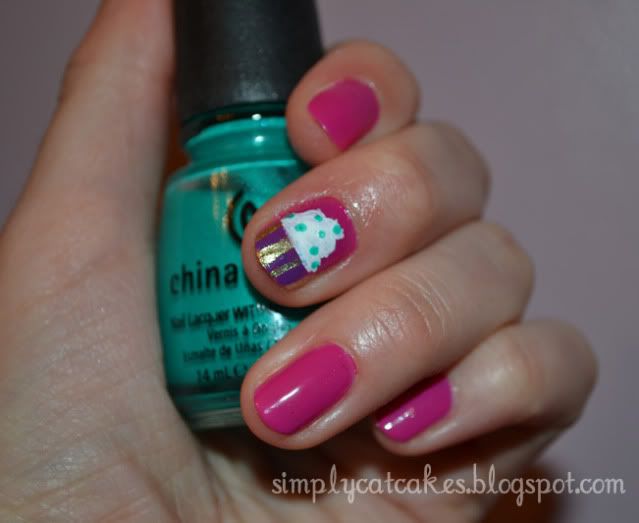
Cupcake Nail Design


I am not sure if you all have recently been brain washed by Pinterest...but I have!  Who knew that such a silly little application would create hours of fun and inspiration.  In my recent pinterest treasure searching I came across a cupcake nail design.  I knew that at that moment that I had to have that sweet design on my nails. 
If you are like me, right handed, creating designs on your left hand is a piece of cake!  However, when attempting to recreate the same design with your left hand...it always looks like a chicken trampled your nails.  Needless to say for this design I did not attempt to recreate it on my right hand.
Below is my super simple design tutorial.  Please try not to judge my sad muffin tops :)
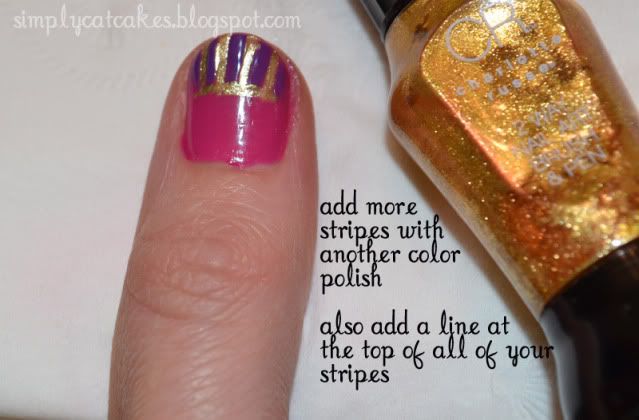
For my design, I painted my nails as I normally do.  Then I picked a contrasting bright color and used a skinny tip polish to create small stripes.  This will become the cupcake holder for your cupcake.
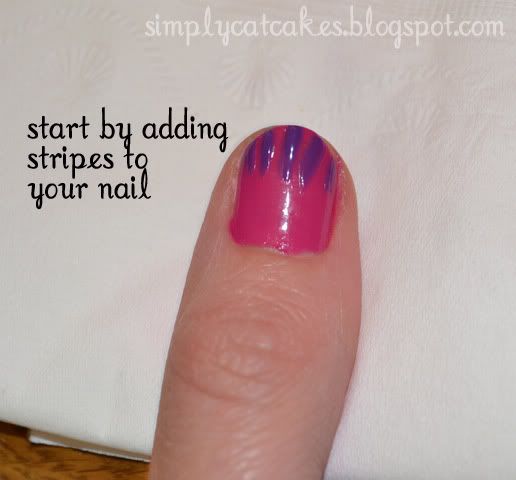
After your polish dries, choose another color for your cupcake holder.  Fill in between the purple strips.  I also added a band at the top of the stripes to help contain the cupcake holder.
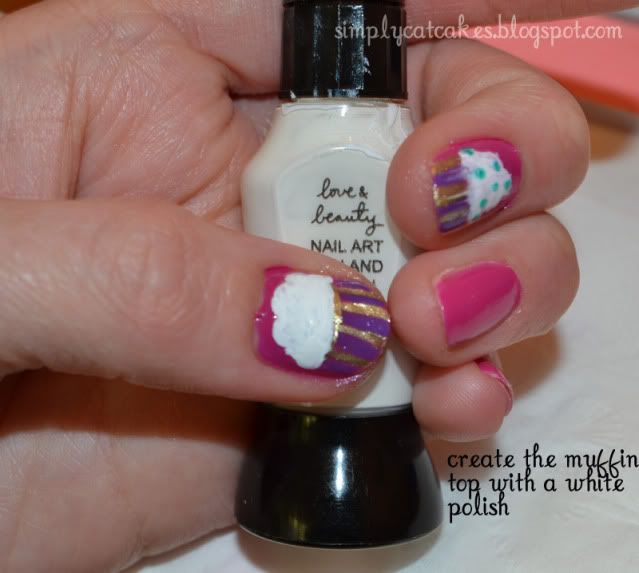
Using a white skinny tip polish I drew on the border of the fluffy top.  Since, I don't have a good white polish, I just used what I had.  I wouldn't really recommend using a skinny tip polish to fill in a design because it typically creates a sloppy finished look.


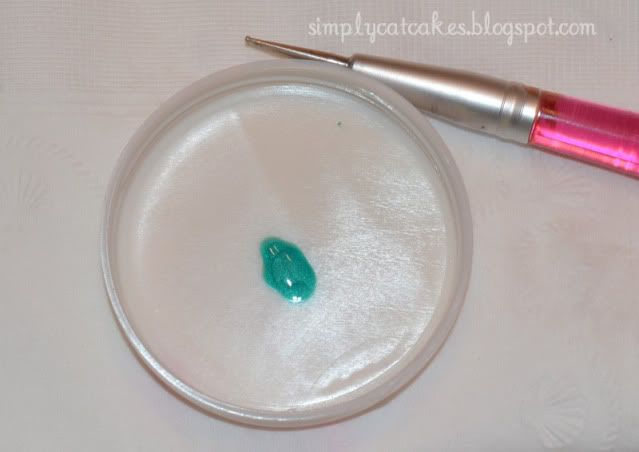
To create the sprinkles in my cupcake, I used a bit of polish and a dotting tool.  I would recommend getting a dotting tool since it makes dotting super easy.  Dotting tools are really inexpensive.  On ebay, you can typically purchase a 5 piece dotting set for a buck or two!
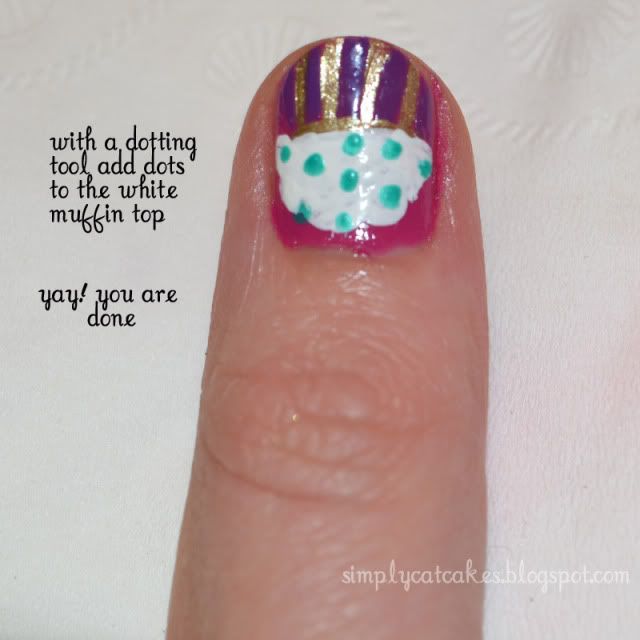
Make sure your design is fully dry before adding a top coat or else your colors will run.
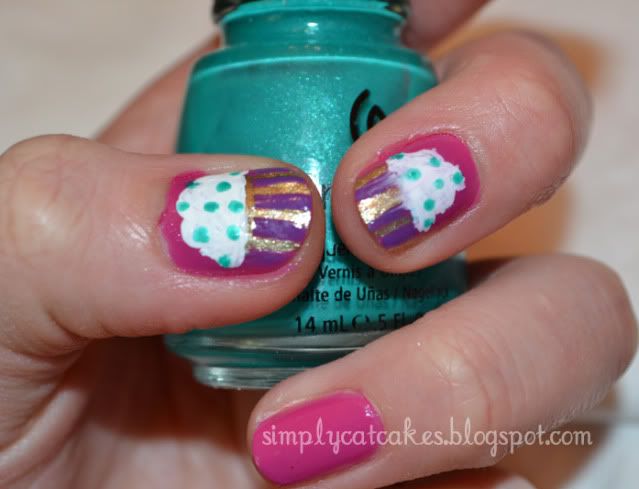

I hope you enjoyed this easy nail tutorial! 

Follow Me on Pinterest for Pinterest fun!

Until next time,
Photobucket

Sunday, February 19, 2012

Ribbon Wreath Craft

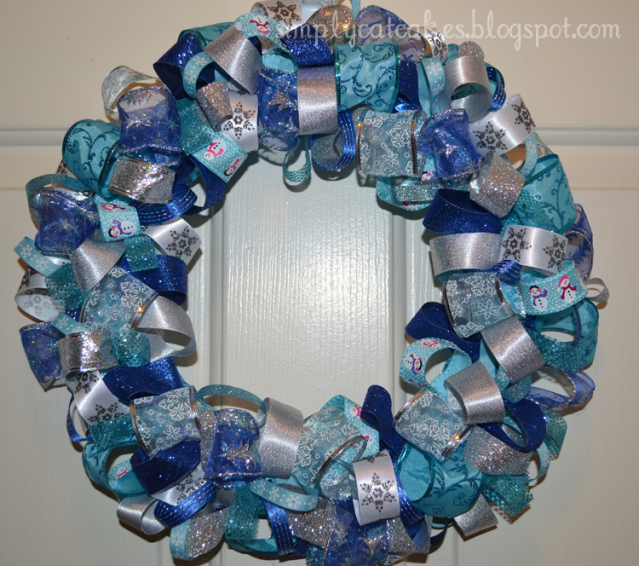
My winter wonderland wreath

This past Christmas season, I became obsessed with ribbon wreaths.  I must've made at least 10 wreaths. Sadly, I own none at this time because I gave them all away.

I decided to share my craft idea because my friends and family really enjoyed receiving these as gifts!  The craft itself is extremely easy.  I've never attempted to tackle a wreath project, so I know if I can do it....you can do it! 


Materials:
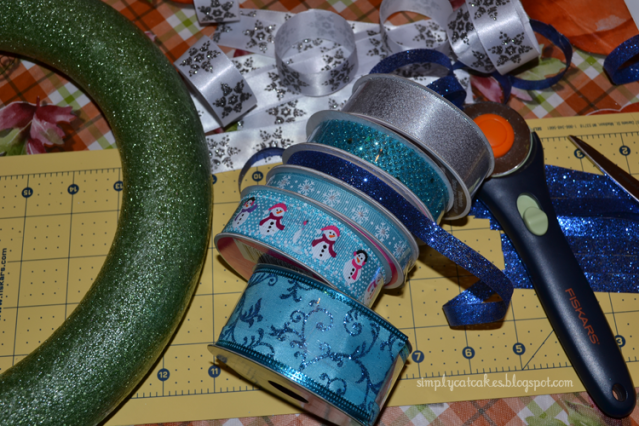
Foam wreath
Tons of ribbon (various sizes, various patterns)
Glue gun
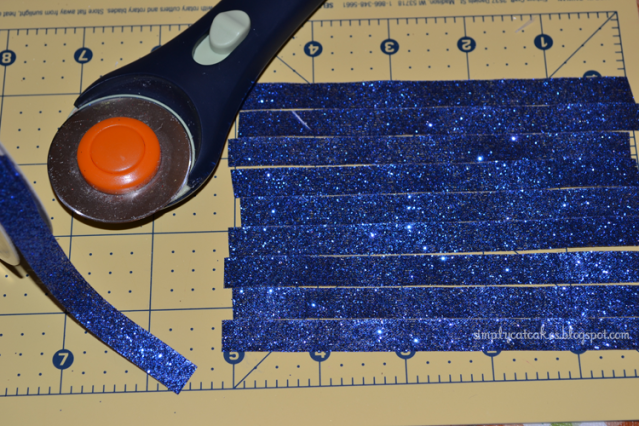
Scissors, rotary wheel
Cutting mat
Push pins are helpful!

In effort to facilitate this project, I made a YouTube video.  If you're not into videos, then just follow the below steps.


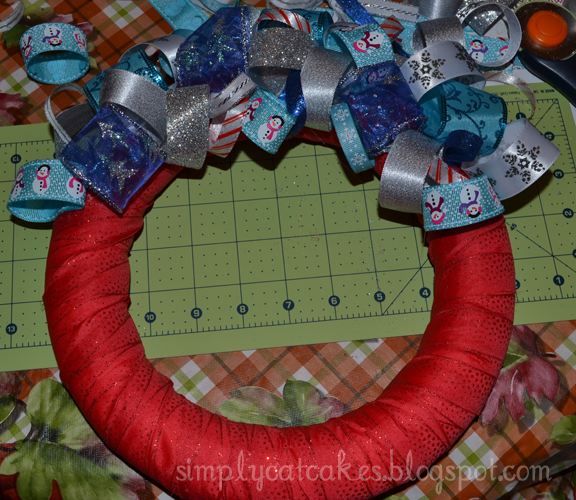
The first thing you want to do is cover your entire wreath with the widest ribbon you have.  The push pins come in handy by securing the ribbon in place.  Be sure to hot glue the very last piece of ribbon onto the foam.
Next, you will need to cut about 5 inches of ribbon.  Cut all of your ribbon at this time.  This makes the decorating and gluing part go by faster and easier.

Then you will want to glue all of your ribbon strips into loops.  Once you have successfully glued all your ribbon into loops or circles, it is time to decorate!!

It doesn't matter where on the wreath you start gluing. Just add a small amount of glue on to your ribbon then press the ribbon onto the wreath.   You will want to repeat this step until you have the entire front of the wreath covered. 

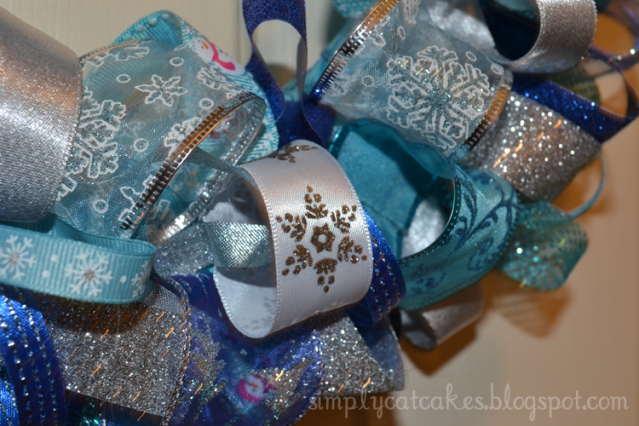
The trick to create patterns with the ribbon.  Add your ribbon at various angles to give your wreath a complete look.

Be sure to cover any large gaps with ribbon. 
In the end you should have no gaps, and lots of alternating ribbon patterns throughout your wreath.

The estimated cost of the craft is about $10-$15 however, you can get tons of ribbon to use on more than one wreath!  While making my bazillion wreaths, I swore by Michael's coupons and sales.
This craft is perfect for any holiday.  You can easily make it for any and every holiday.  They also make great gifts for families and people you have no idea what to give.
Happy crafting!

Photobucket

Guinea Pig Bed


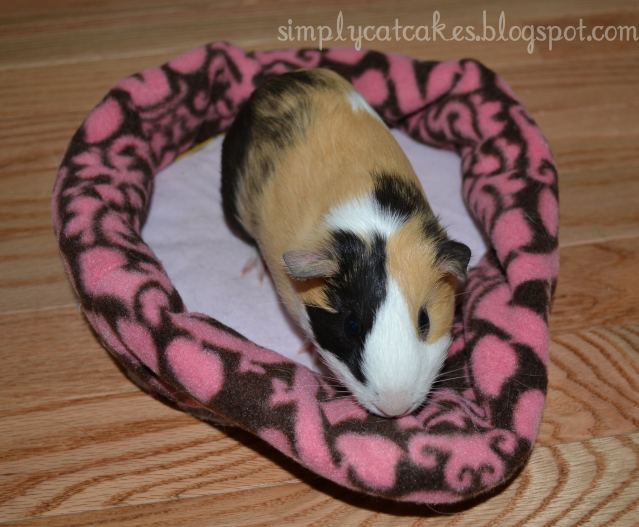
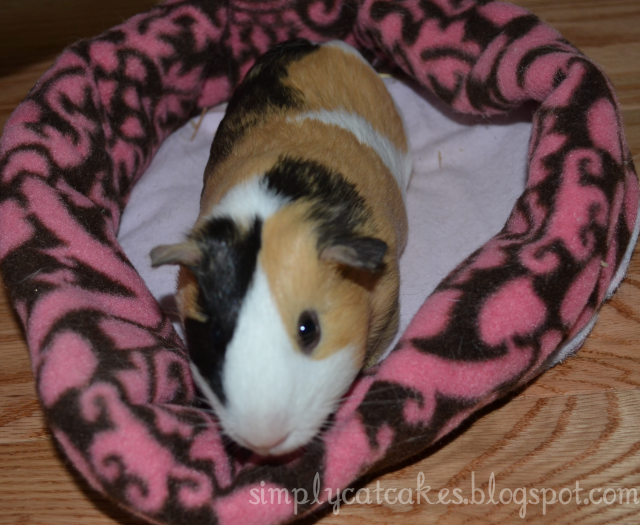
After seeing the pet bed tutorial on the Sewplicity, I decided to give making a bed for my piggy a shot!  Surprisingly, it was affordable and easy!  I was able to go to my local Jo-Ann and pick up fleece remnants for about $2 dollars each.  The other materials I already had at home.  However, I noticed that Jo-Ann had quite a few fleece blankets on clearance.  This would probably be a good buy if you are interested in making a lot of pet beds, or one huge pet bed. 

Since it was my first time making the bed, it came out a bit larger than I wanted.  I'm not complaining since the bed fits Roo's pigloo perfectly.


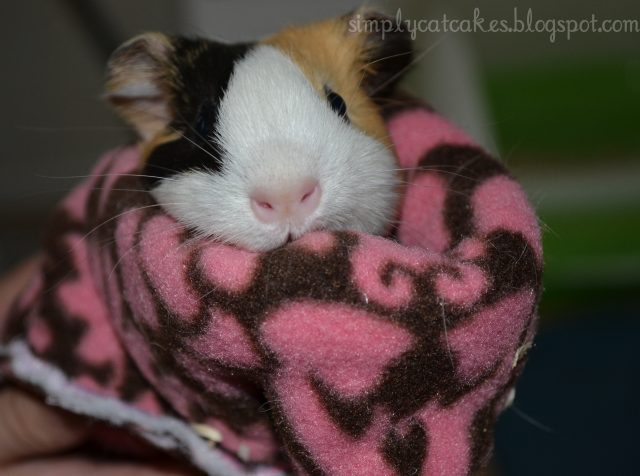
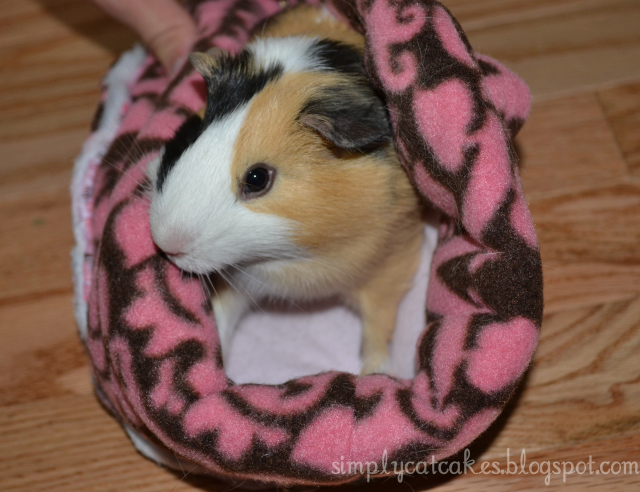
Roo is happy camper.  She's very cozy inside her pigloo.

Since guinea pigs aren't exactly the cleaniest animals, I will be making Roo another bed.  That way, I can alternate between the beds when I wash one.  I plan to make it smaller so that it does not take up as much space.

Roo is happy to have a warm place to hide in, and we are happy to make fleece tacos out of Roo :)

I think my next project for Roo might be a cuddle cup.  Sounds so cute!!

Photobucket